Create a Laravel Development Environment using XAMPP.
Laravel is an open source MVC web development PHP framework, according to recent studies it has topped the charts as the most widely used PHP web development framework for several years till 2015. Laravel development has a great community and it is rapidly evolving.
Creating a Laravel development environment using XAMPP under Linux Mint proves to be a challenge for some people. But don’t feel hassled as it’s not that complicated, just follow few simple steps as listed below and you are ready to start the development on the new project.
Step 1. Install XAMPP
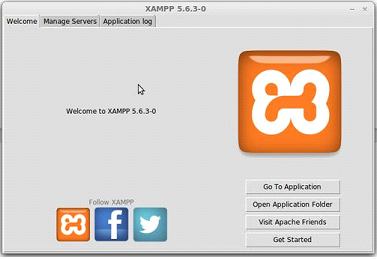
XAMPP is available free of cost and for every platform like (Linux, Mac, Windows).Download the latest package from the XAMPP download page. Now,Run the XAMPP installation with: sudo ./xampp-linux-x64-5.6.3-0-installer.run – command, this command will open a graphical installer. The installation is simple and painless, all the files would be installed under/opt/lampp/ directory. Once the installation is completed, initiate the graphical configuration manager for XAMPP. This can be done simply by navigating to /opt/lampp/ and processing the sudo manager-linux-x64.run command. A window like the following would appear:

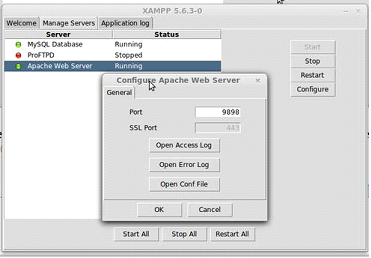
Using the second tab in this window, you can stop/start/restart the services and revise the configurations of the applications like (Apache, MySQL). For example if I use the 8989 port for Apache, I can update the Port on the configuration window, clock on OK and restart the Apache Web Server.
Make sure the selected port has to be free and is not utilized by other applications.

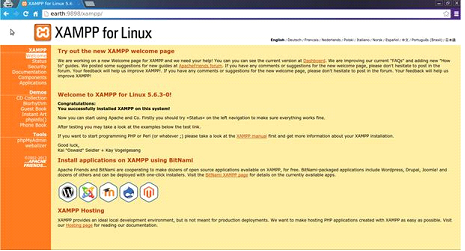
Once the XAMPP setup has been completed successfully, the XAMPP webpage would appear when navigating to http://machine_name:8989/xampp (here machine_name has to changed as per your system details)

Step2. Installing Laravel
For generating a project setup in Laravel we use Composer and php5-cli. Here, Composer is dependency manager for PHP, while the php5-cli is command line tool in PHP 5.

Step 3.Create a default Laravel project
Once the installation is completed, navigate to /opt/lampp/htdocs (the directory which is used to display the web pages in Apache).
1 # creating the sample_laravel_app using composer
2 # into the /opt/lampp/htdocs/laravel folder
3 greg@earth /opt/lampp/htdocs/laravel $ php5
/opt/lampp/composer/composer.phar create-project laravel/laravel
sample_laravel_app –prefer-dist
4
5 # have to change the ownership and permissions of the folder storage
6 greg@earth /opt/lampp/htdocs/laravel $ chmod -R 777 sample_laravel_app/app/storage
7 greg@earth /opt/lampp/htdocs/laravel $ chown -R greg:www-data sample_laravel_app/app/storage
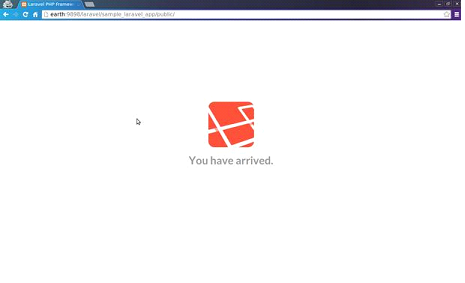
And Voila! A new project with Laravel framework is created. If you are navigating correctly and your browser looks like the image as follows, the project is effectively installed.

Now you are ready to start the development on your new project. We told you it’s not difficult right.


